Capital City Roofing
Certified Installation

Professional Roof Installation Process

Quality roofing starts with quality installation. Capital City Roofing's certified crews follow manufacturer-specified methods at every step—ensuring your warranty coverage and long-term performance.

Step-by-Step Installation Process

1

Pre-Installation Preparation

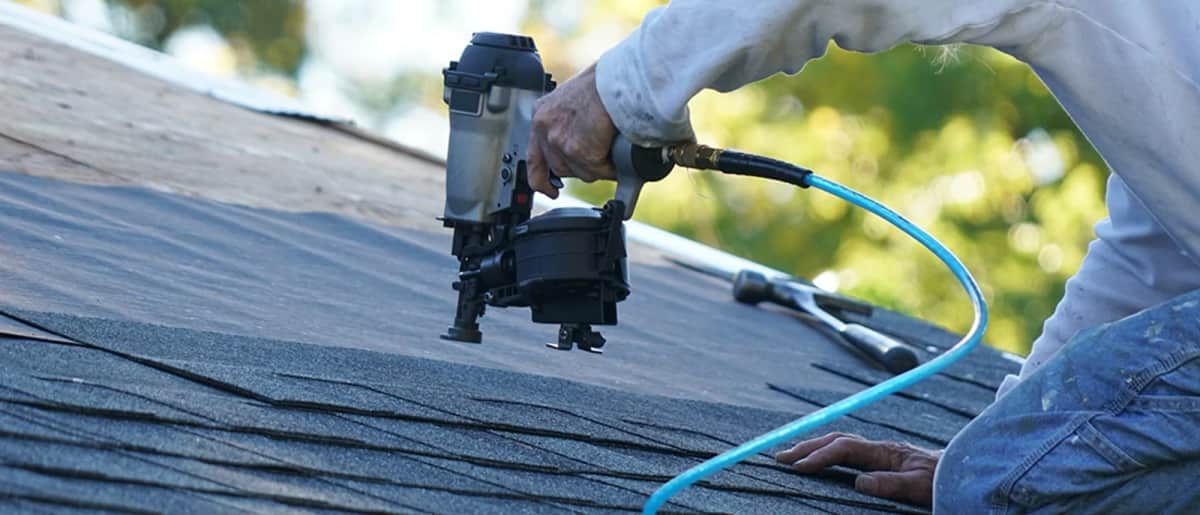
Before work begins, our team conducts a final site assessment as part of our comprehensive 27-point full home inspection — evaluating your roof, gutters, siding, fascia, soffit, attic, foundation, and driveway. We position dumpsters strategically to minimize lawn damage, lay protective tarps over landscaping and entry points, and review the project plan with you. Our project manager walks you through what to expect and answers any last-minute questions.

Key Actions:
  • • Dumpster positioning and property protection
  • • Final walkthrough with project manager
  • • Material delivery and staging
  • • Safety equipment setup
2

Complete Tear-Off

We perform a complete tear-off down to the roof deck—removing all old shingles, underlayment, drip edge, and flashing. This allows us to inspect the deck for damage and ensures a clean, solid foundation for your new roof. Partial tear-offs or "layovers" void manufacturer warranties and hide potential problems.

Key Actions:
  • • Remove all existing roofing materials
  • • Inspect roof deck for damage or rot
  • • Document deck condition with photos
  • • Load debris into dumpster continuously
3

Deck Inspection & Repair

With the old roof removed, we thoroughly inspect every square foot of decking. Any damaged, rotten, or sagging plywood is replaced with new 7/16" or 1/2" OSB or plywood. Proper deck integrity is critical—it's the foundation your entire roofing system relies on.

Key Actions:
  • • Inspect 100% of roof deck surface
  • • Replace damaged or soft decking
  • • Secure loose boards and re-nail as needed
  • • Document repairs with before/after photos
4

Drip Edge & Ice-and-Water Shield

We install metal drip edge along all eaves and rakes to direct water away from fascia boards. Ice-and-water shield (a self-sealing waterproof membrane) is applied to all valleys, eaves, rakes, and around penetrations like chimneys and skylights—critical areas where leaks commonly occur.

Key Actions:
  • • Install drip edge on eaves and rakes
  • • Apply ice-and-water shield to valleys
  • • Protect eaves (minimum 3 feet from edge)
  • • Seal around all penetrations
5

Synthetic Underlayment Installation

We install premium synthetic underlayment across the entire roof deck. Synthetic underlayment is far superior to traditional felt paper—it's stronger, more tear-resistant, and provides better waterproofing. This layer is your roof's secondary water barrier.

Key Actions:
  • • Roll out synthetic underlayment horizontally
  • • Overlap seams per manufacturer specs
  • • Secure with cap nails or staples
  • • Ensure complete deck coverage
6

Shingle Installation

Shingles are installed following manufacturer-specified nailing patterns and exposure rates. We use 4-6 nails per shingle (depending on roof pitch and wind zone) and ensure proper alignment and overlap. Starter shingles are installed along eaves and rakes to prevent wind uplift.

Key Actions:
  • • Install starter strip along eaves and rakes
  • • Lay shingles with proper exposure (5-5.5")
  • • Follow manufacturer nailing patterns
  • • Maintain straight lines and proper alignment
7

Ridge Venting & Flashing

Proper ventilation is critical for roof longevity and energy efficiency. We install ridge vents along the peak of your roof to allow hot air to escape from the attic. All flashing around chimneys, skylights, and wall intersections is replaced with new, properly sealed flashing.

Key Actions:
  • • Install ridge vents for proper airflow
  • • Replace all pipe boots and flashing
  • • Install step flashing at wall intersections
  • • Seal all penetrations with roofing cement
8

Cleanup & Final Inspection

We run magnetic nail sweeps across your entire property multiple times to collect metal debris. All tarps are removed, landscaping is checked, and the dumpster is hauled away. Our project manager conducts a final inspection with you, reviews warranty documentation, and answers any questions.

Key Actions:
  • • Magnetic nail sweep (3+ passes)
  • • Remove all debris and tarps
  • • Final walkthrough with homeowner
  • • Provide warranty documentation

Quality Checkpoints at Every Stage

Photo Documentation

BuilderLync captures progress photos at every stage—deck condition, underlayment, flashing, and final installation.

Certified Crews

Every crew member is trained and certified on GAF and CertainTeed installation methods.

Final Inspection

Project manager conducts thorough final inspection before considering the job complete.

Installation Process Questions

How long does a typical roof installation take?
Most residential roof replacements are completed in 1-2 days, depending on the size and complexity of your roof. A standard 2,000 sq ft home with a straightforward gable roof typically takes one full day. Larger homes, complex roof designs with multiple valleys and dormers, or projects requiring extensive deck repair may take 2-3 days. We'll provide a detailed timeline during your estimate and keep you updated throughout the project via BuilderLync.
What happens if it rains during my roof installation?
We monitor weather forecasts closely and won't start a tear-off if rain is imminent. If unexpected weather occurs mid-project, we have tarping systems ready to protect your home immediately. Our crews carry heavy-duty tarps and can secure your roof within minutes. In most cases, we complete the tear-off and underlayment installation in a single day, so your home is weatherproofed before we leave—even if shingle installation continues the next day.
Will I need to be home during the installation?
You don't need to be home during installation, though many homeowners prefer to be present for the initial walkthrough and final inspection. Our project manager will meet you before work begins to review the plan, answer questions, and establish communication. Throughout the day, you'll receive BuilderLync updates with photos and progress notifications. We'll contact you when the project is complete for a final walkthrough and to answer any questions.
How do you protect my property during installation?
Property protection is a top priority. We place tarps over landscaping, deck areas, and entry points. Magnetic nail sweeps are run across your entire property multiple times to collect metal debris. Dumpsters are positioned to minimize lawn damage and are removed promptly. Our crews are trained to respect your property—no shortcuts, no carelessness. We leave your property cleaner than we found it.
Capital City Roofing Free Roof Inspection and Consultation in Atlanta GA

Experience Certified Installation Excellence

Capital City Roofing's installation process ensures quality at every step. Get started with a free inspection today.